Elevate Your Creative Projects with Floral Line Art Borders
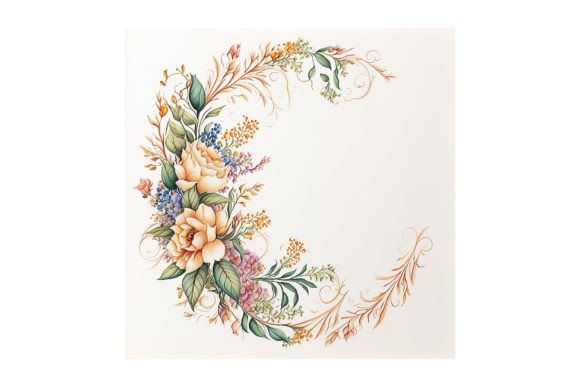
The beauty of Floral Line Art Borders lies in their elegant simplicity. These delicate, flowing designs capture the essence of botanical beauty in clean, continuous strokes, offering a timeless decorative element for countless applications. Many creators gravitate towards them because they provide instant artistic polish without overwhelming a layout. However, the path to using them effectively is often littered with small, easily overlooked pitfalls that can undermine your final result. Understanding these common mistakes transforms these borders from a simple graphic into a powerful tool for professional-grade work.
The High-Resolution Foundation: Why DPI Matters Beyond the Download
When a product description states "300 DPI PNG files," it’s easy to just nod and move on. This is the first critical detail many beginners and even seasoned professionals gloss over. DPI (dots per inch) is a measure of resolution, and 300 is the standard for high-quality printing. The promise of transparent backgrounds and easy color alteration is enticing, but it all hinges on that resolution. A common mistake is downloading a set like this and then immediately resizing it drastically for a web banner or social media graphic. While scaling down is usually safe, scaling a border up for a large format print, like a textile or poster, beyond its intended size can introduce pixelation and blur those fine lines.
A better approach: Before you even start designing, define the final output size and medium. If you're creating cosmetics packaging for physical print, 300 DPI is perfect. If you're decorating a website header, you'll likely need a much smaller pixel dimension. Create your canvas at the correct size first, then place the border asset. This preserves quality and avoids last-minute scrambling for a replacement graphic when your upscaled border looks fuzzy.
Transparency Isn't Just for Backgrounds: It's for Layer Management
The PNG format with a transparent background is a gift. It allows you to place the floral line art over any color or image. The misunderstanding here is treating this transparency as purely a background feature. A frequent error is stacking multiple border elements or other graphics directly onto the border layer in a complex, messy pile. This can lead to visual clutter where the delicate floral motifs get lost, defeating their purpose as a refined accent.
Practical advice: Use the transparency to your advantage by working with layers intelligently. Place your border on a dedicated layer. If you wish to change its color, as the product description encourages, do so via layer effects (like color overlay in most software) rather than filling transparent areas manually. This keeps the file editable and clean. For projects like invitation cards, place the border layer above your text layer but consider lowering its opacity slightly if the text needs paramount clarity, creating a subtle, sophisticated backdrop.
Contextual Harmony: Matching the Border to Your Project’s Voice
Floral line art borders are versatile, but not universally identical. A common oversight is using the same style of border for a children’s birthday card and a luxury perfume box. The line weight, floral complexity (like intricate roses versus simple daisies), and overall density convey different moods. Applying a dense, intricate border to a minimalist website banner can create visual tension and feel overwhelming. Conversely, a too-simple border on a richly designed textile might look underwhelming and cheap.
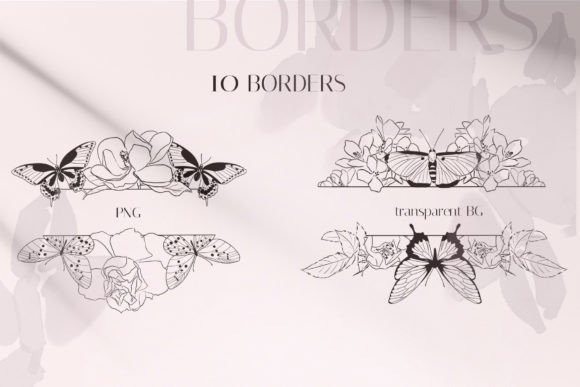
What to check before using: Analyze the ten provided borders. Identify which are more formal, which are more playful, and which are balanced. For a wedding invitation, a continuous, elegant vine might be ideal. For a blogger’s seasonal header, a simpler, open wreath could be better. Don't just use the first file in the folder; curate the border to match the communicative tone of your entire project. This attention to contextual harmony elevates the perceived quality of your work immensely.
Color Alteration: A Power Feature Often Misused
The ability to "easily change the color" is a highlighted feature. This freedom, however, leads to a frequent aesthetic mistake: choosing colors that clash with the line art’s nature or the project’s palette. Slapping a neon green onto a delicate rose border for a classic event invite can look jarring. Another error is using too many colors on a single border, turning a cohesive element into a chaotic one.
A constructive correction: Use color theory as your guide. For a cohesive design, change the border color to a shade already present in your project’s color scheme. Consider saturation: a pastel border often works better for soft designs, while a deep, saturated color can add bold definition. If your project is monochromatic, using a border in a slightly darker or lighter tint of the same color can add beautiful depth without introducing conflict. This mindful approach ensures the border integrates seamlessly, enhancing rather than distracting.
Beyond Decoration: Functional Application in Layout
Many users see a border and think only of framing an entire page. This limits utility. These elements can be repurposed creatively. For instance, using a single, isolated floral motif from the border as a recurring watermark on dishware designs. Or, splitting a continuous border to create vertical side elements for a website. The mistake is a rigid mindset regarding application.
Realistic examples and better approaches: Don’t just frame. Deconstruct. For a set of birthday cards, you could use the full border on the main card, but extract a small floral cluster to decorate the envelope seal. For a banner, consider using the border not around the entire rectangle, but just along the bottom edge to ground the text. Examine the PNG files closely; see them as a collection of individual artistic strokes and clusters, not just pre-made frames. This unlocks true customization and unique design outcomes.
Ultimately, this set of Floral Line Art Borders is more than just ten graphics. It’s a versatile toolkit for enhancing professionalism across print and digital mediums. By paying close attention to resolution application, layer management, contextual suitability, color choice, and creative implementation, you avoid the common errors that lead to disappointing results. These proactive steps ensure your creative projects—from home textiles to cosmetic packaging—carry a consistent, polished, and intentional aesthetic that resonates with your audience. Start by planning your output, then let the clean, adaptable beauty of the line art do the rest.